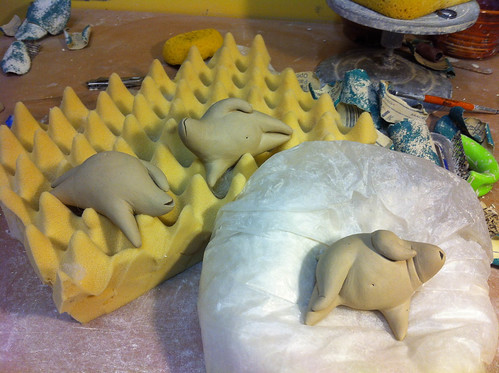
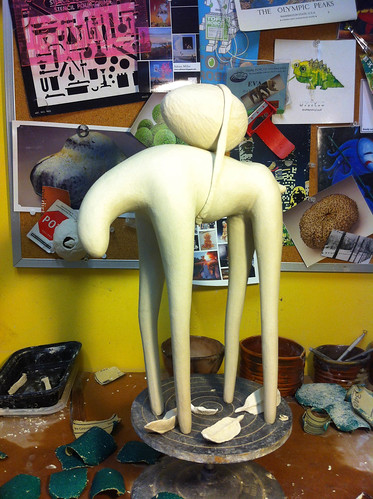
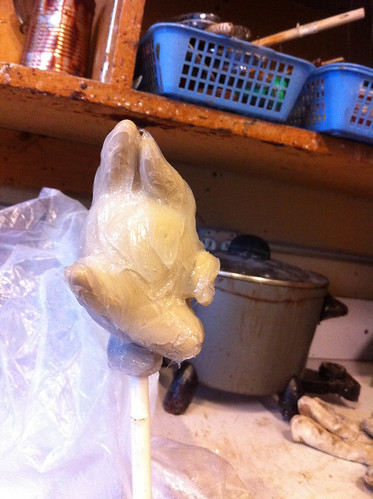
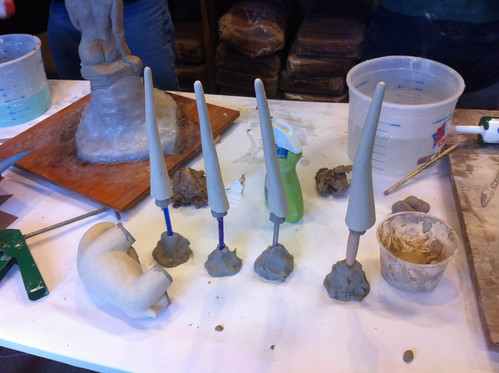
This summer I’ve been pretty absent from my studio. The reason behind this hasn’t been the nice weather, or anything so simple. The reason is that I’ve decided to push myself beyond what I’m comfortable with, beyond clay. I’ve spent the last month turning my basement and backyard into a mad scientist’s lab while trying all sorts of new materials. I figured it would be a good idea to sum up my experiments so far. I started with a vague idea that I should carve stuff out of Styrofoam. Here’s where things have developed from there.
-Styrofoam-
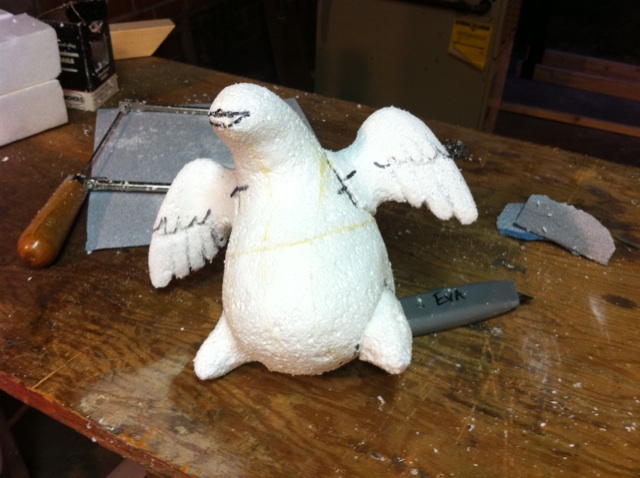
Styrofoam is a specific brand of expanded polystyrene (EPS) foam, that white crumbly stuff. It carves extremely nicely, and apparently most theme park decorations or large advertising objects are EPS coated with urethane and fiberglass. Anyway, the professional way to do it is to use hot wire tools. I tried that, but found it far too fumey for anywhere inside. However, regular saws and rasps go through it like a breeze, if you don’t mind vacuuming ever 20 minutes. Straight Pins or flower arranging pins are also very useful, for holding on parts before you’ve glued them. There’s a number of different ways of getting large blocks, but I stuck with scrap pieces while experimenting. I cut apart some old packing materials, gluing them into solid blocks.
-Glues-

I ended up seeing several recommendations for glues to use on Styrofoam, so I just decided to test everything I could find. Here’s my conclusions.
Wood glue/ Elmer’s: Seems to work ok, but the middle sections of your block will never dry. It’s usable, but not ideal.
Gorilla glue: This will dry well, but it’s so much harder than the Styrofoam that it will make carving difficult.
3M 77 spray adhesive: This specifically says not to use it on Styrofoam/ expanded polystyrene. This is because it has acetone in it, which could dissolve the foam. However, if you use as directed (Spray from 12″ away, and wait at least 30seconds before attaching the pieces), the acetone *appears* to evaporate away with out damaging the foam. A test piece created with this hasn’t shown any ill effects after a few weeks, but I wouldn’t use it on anything you want to be archival. That said, it attaches perfectly well, has some flexibility, and the seam carves just like the rest of the foam.
3M Styrofoam spray adhesive: I never had a chance to find this, but I suspect it’s similar to 3M77 but without the acetone. If I was going to be focusing more on Styrofoam in the future, I’d take them time to track it down.
-Coatings-
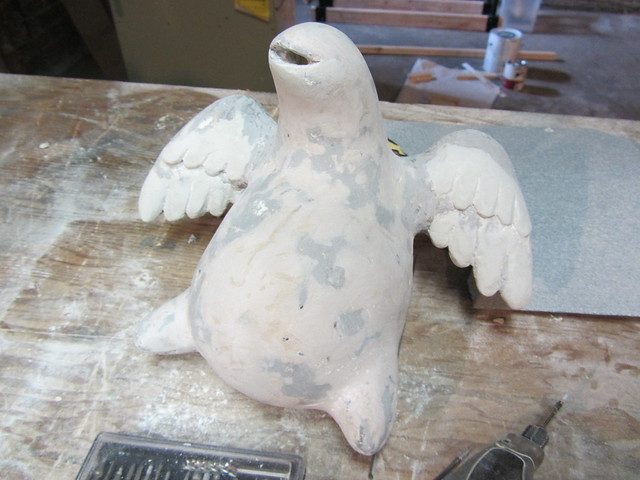
Styrofoam has its downsides, including the fact that it dissolves when exposed to anything with a solvent, such as epoxy or fiberglass. It also won’t be that durable until you can apply some type of coating to it. So, like with the glue, I went about testing different stuff.
Foamcoat: I feel pretty certain that this is something I’ve worked with before, just re-purposed. Heavy duty spackle? Some sort of instant plaster? Regardless, it’s extremely heavy, goes on goopy, and is a bit brittle after it sets. To get a durable coat on, you’d have to apply a lot, maybe 3/8″ coating over everything. I’m not that impressed. At least it’s sand-able. Might be useful when making theater backdrops or something.
Styropoxy 7045: There’s several different varieties of styropoxy. All are designed to go on Styrofoam/EPS, extending its life and making it safe from epoxy and solvents. I bought the 7045, which goes on extra thick and is designed to be sanded afterwords. They also have a Syropoxy 7015 and a 7060, which are thinner and are painted on. The numbers refer to working time. The 7045 handles a bit like a cross between those and bondo (Auto body filler). If I were buy more, I’d go with the 7015 or 7060. Better to get the thinner version, and then supplement it with bondo where needed.
Bondo (after the Styrofoam has been sealed): It’s my first time using Bondo and it appear to be very useful, if very nasty, stuff. It’s made for autobody repair. You apply it, then should sand it right away before it hardens all the way. You can sand it afterwords as well – though a power sander will help. It hardens rock hard and very durable.
Apoxie Sculpt (After the Styrofoam has been sealed): This stuff is like the love child of epoxy and sculpy. It’s a two part clay that will harden rock hard within 24 hours. I’m undecided as to where I stand on it. It’s useful, but I’m not fond of it. I hate sculpting in rubber gloves. It’s close enough to clay I want it to act exactly like clay, and I’m disappointed when it doesn’t. I had more luck carving fine details in after the fact with a dremel, though like everything I’ve been talking about, don’t sand or carve it without a respirator mask.
Acrylic Hard Molding Paste: I’d heard a suggestion online that acrylic molding paste might be a useful top coat, since it’s hard, sandable, and is basically marble dust secured in a polymer. I wasn’t that impressed with it. It clearly would take several coats, and it seem like it’s too flexible to add much in terms of structural integrity to the piece. It would be useful to add texture to go under paint, which is its intended purpose, but not as permanent hard coat for a foam creature. You might be able to put this straight on Styrofoam, but I didn’t try it.
-Other Materials-
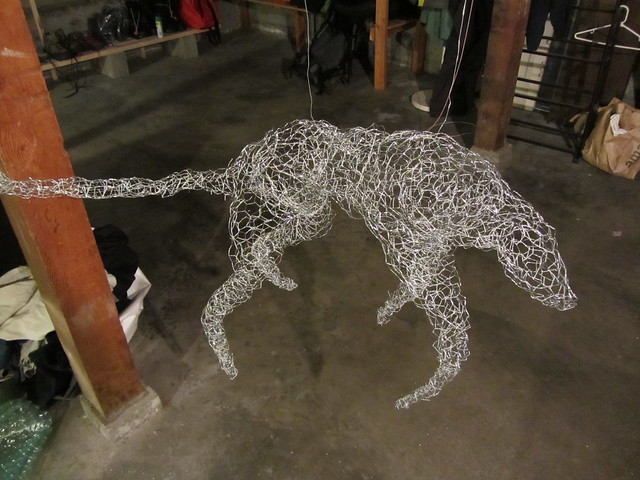
Chicken Wire: Chicken wire is actually the reason I don’t see myself doing any more Styrofoam sculptures. I started experimenting with chicken wire to see if it could be used for an armature, only to discover the wire armatures had so much more life and movement than my trial foam pieces. Evidently, I need to sculpt in a material I can bend. I immediately started researching what I could do starting with a base of chicken wire.
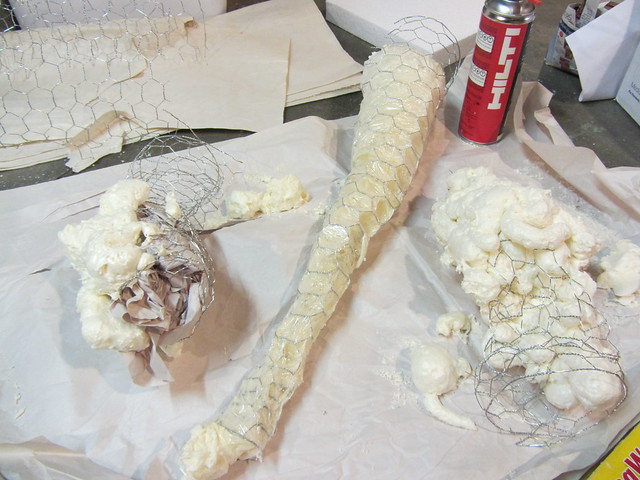
Spray Insulation in a Can (Great Stuff/ Hilti): My first experiment was coating the chicken wire in spray foam. I first tried spraying it on the outside of a chicken wire. The foam was a bit hard to control and led to a messy coat about an inch or two thick. I then tried loosely covering the outside of the chicken wire in plastic, and spraying the foam along the inside. While that looked promising at first, the foam fascinatingly shrank back as it cured, sucking the plastic in with it. I ended up giving up on both methods regardless, because the end foam is too squishy, and I’ve heard some people online claiming it can shrink over time. In short, not archival quality.
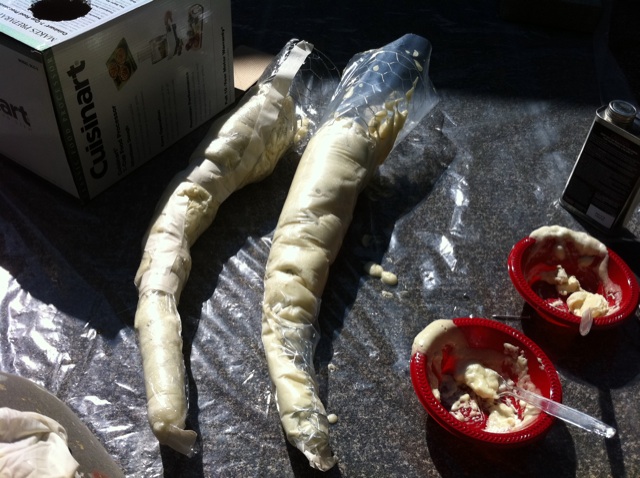
AB polyurethane foam: AB foam is pretty cool stuff, and actually the present focus of my experiments. You mix to parts together for 30second, and then it rapidly expands between 10 and 18 times its original volume, setting carvably hard within five minutes. I’ve been experiment with coating chicken wire forms in plastic, and then pouring the foam into the form. It expands, pushing out the plastic, creating a carveable coating around the chicken wire form. I’m still experimenting with various plastics, but I think this is a promising line of experimentation. You can apply bondo or fiberglass directly to polyurethane foam, unlike Styrofoam/polystyrene..
-The next step!-
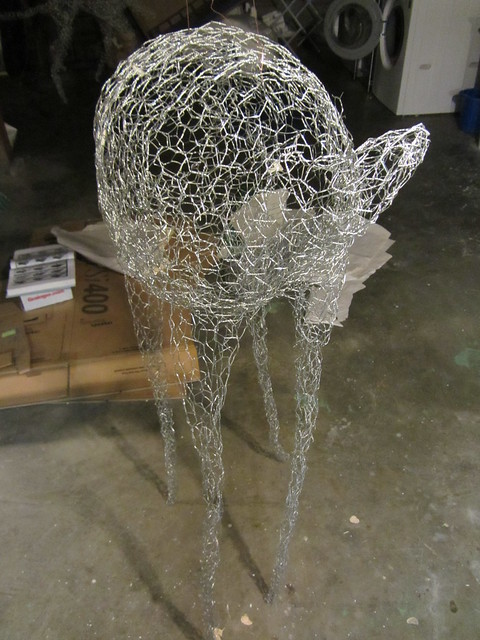
I have an chicken wire armature ready to turn into my first full size foam beastie, one about 4 foot tall. I’m planing on building a structural system of metal rods and PVC pipe inside the armature. I’ll coat it with AB foam using my plastic wrapping method. After that, I’ll sand it smooth and coat it all with a thin coating of bondo to give it more structural integrity. I think I might finish it with autobody paints. I feel pretty good about this plan, though I do have more finishing methods still lined up to test. There’s a chance this all might have to wait a bit, since I’ve heard talk of another woodfiring, but I can’t wait to turn this research into a finished piece!
—
— www.evafunderburgh.com —
