Awhile ago I wrote up a post about preparing for bronze casting. It tackles creating a clay sculpture, making a mold, creating a wax version, and preparing the wax for the investment process. Since I’ll be doing another bronze pour this weekend, I thought now would be a good time to follow up my first post with a talk about the rest of the process: the investment, the casting itself, and the initial clean up.
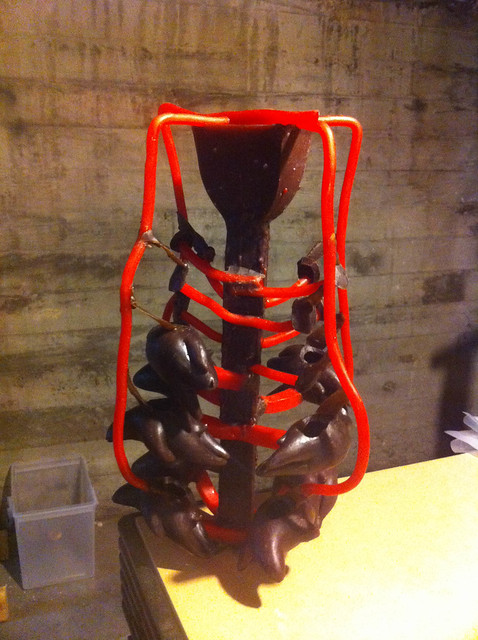
By the end of the last blog post, I’d followed my sculpture up to the point where it was this crazy chrismas tree of wax, with wax sprues existing to give the bronze a path to flow down in the sculpture, and additional wax vents where the air will flow out. There’s actually a few options at this point. There’s a process called ceramic shell casting, where you build up the mold in layers. It’s neat, but something you need a dedicated facility for. Our class, on the other hand, went for the classic method of investment.
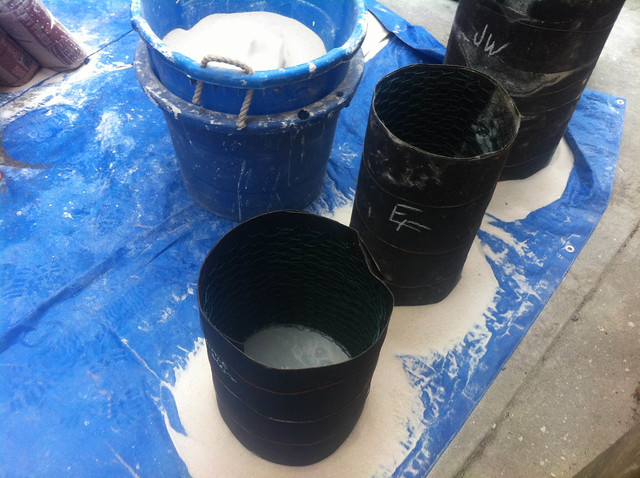
“Investment” can refer to the finished plaster mold, the plaster and sand mix you use to make the mold, and the act of imbedding the wax in the investment. It gets a bit messy, both in phrasing and in reality. Anyway, you make your investment by creating a cylinder of chicken wire, for reinforcement, and then a cylinder of tar paper, both a few inches larger than your wax in every dimension. These act as molds for the investment mixture. We used two scoops of sand to one of plaster for our investment, but the mixture can vary. The first step is to pour a couple inches of the mix into the bottom of the tar paper cylinder. By letting this harden before adding the rest of the plaster, you’re less likely to have liquid plaster escaping the mold and covering the whole floor. Less likely, but not guaranteed. It’s a messy process, as I said.
Once the bottom of cylinder is a bit set up, you fill the rest of the form all the way up with the investment plaster. You carefully lower your wax form down into the plaster, jiggling it to try and dislodge bubbles that might stick to it. There’s various ways of keeping bubbles from adhering to the form, ranging from spraying the wax with a thin coat of shellac, to shaking it, to raising it up and daubing at it with a brush. It sounds like each bronze caster has their own way, each convinced of its primacy. Regardless, the final step is to carefully hold the wax in place until the plaster is set and the investment is complete.
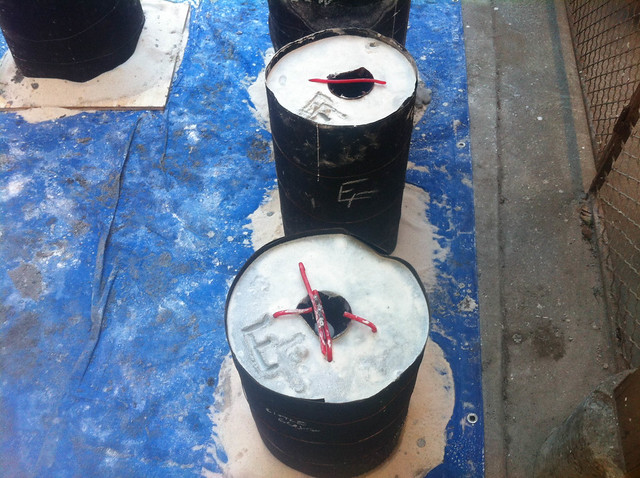
At this point we made sure to label our investments, since they all look awfully similar. You can see the pour cup in the center, where the bronze will eventually be poured, along with the red wax vents on each side.
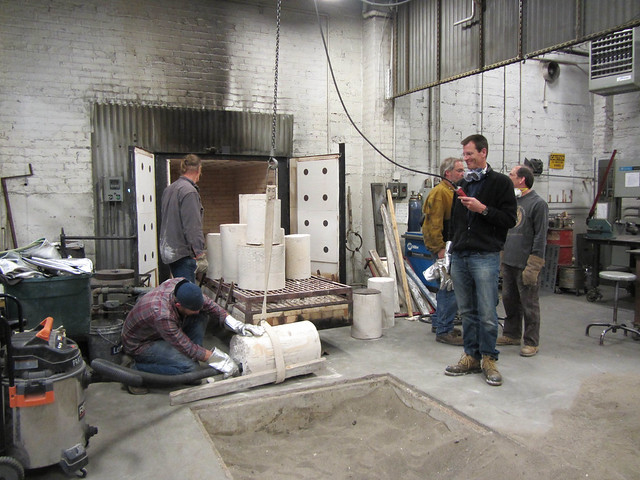
After the investments are set, the tar paper is removed and they’re loaded into the burnout kiln. It’s during the burn out that lost wax casting finally lives up to its name.The investments are placed upside down, so that the wax flows out. However, you want to go significantly hotter than the melting point of wax. This is so that any wax that remains is vaporized, and any carbon left from that is burnt out. Here, we’re vacuuming any dust this might have ended up in the investments, before carefully setting them up for the casting. Keeping the insides of the molds perfectly clean is critical at this point. Anything in the form will end up embedded in the bronze, or causing bubbles if it’s flammable.
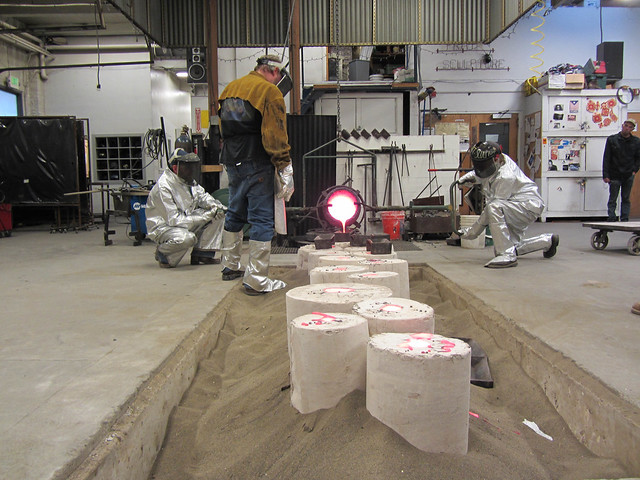
After the molds are lined up in the sand pit, the casting can begin. They use a crane to lift the crucible up, and then take the time to skim some impurities off of the top. Mark, the instructor, is carefully observing each mold, watching to see the bronze flow up into the vent tubes, indicating that it’s full.
Here’s another view of all the molds lined up in the sand pit. At the end, they pour the extra molten bronze into ingot trays, so they can melt it again next time. In reality, the molten bronze is a beautiful golden color, one that the camera can’t capture.
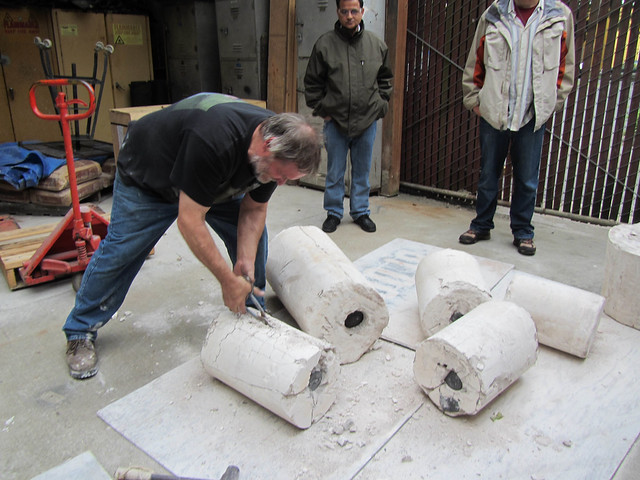
A mere half hour later, we began to remove the investment. As someone who’s used to waiting a week for the wood kiln to cool, this sort of turn around is nuts. The pieces were still quite warm, but nothing that thick gloves and some cold water couldn’t deal with.
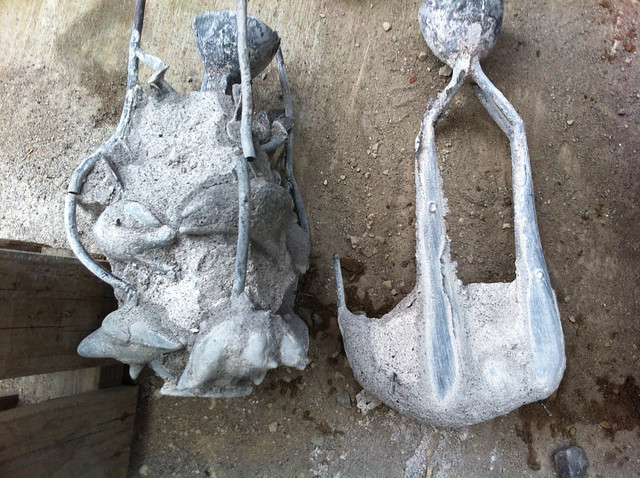
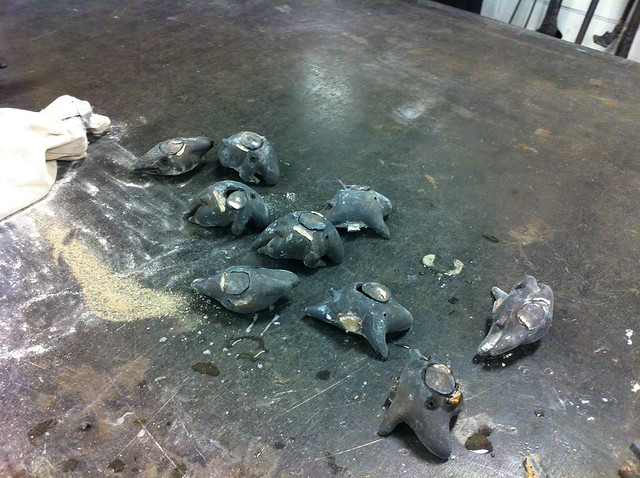
The pieces, as they came out of the plaster, looked more like something you might expect to see in Pompeii. Next up was a mass of washing, scrubbing, and finally pressure washing the pieces at a car wash.
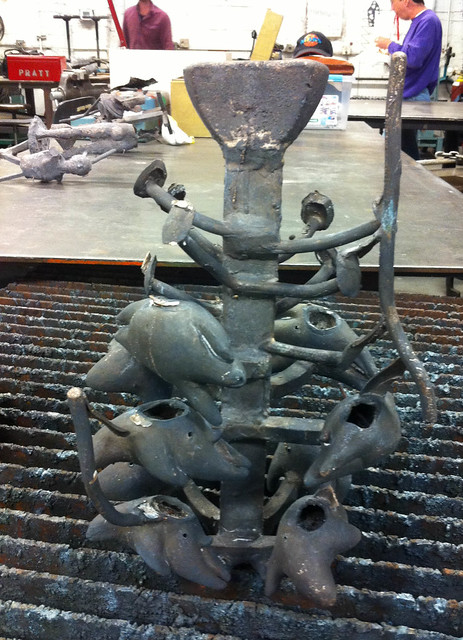
Even with the pieces out of the mold, the work was only beginning. Each bit of sprue and vent had to be cut off with a die-grinder, and ground smooth. Flashing, thin lines of bronze that form where the mold fractures, had to be removed with a chisel – likewise with many tiny bronze bubbles. It’s always a balance between how much you want to shape the piece post casting, and how much you want to keep the original texture.
In the post about the wax making process, I explained how any hollow piece had to have an opening, to let the investment enter the piece. This is now the flip side of that. Ever piece with a little hollow body, must now have the the lid welded back on. One of the instructors was helping out with a TIG welder, carefully doing touch ups where needed. Since we were allowed one or two investments, most folks had one or two pieces, with maybe one spot of welding. I had nine, each with tiny lids. When he was finally done welding them, I bought him a six pack of beer.
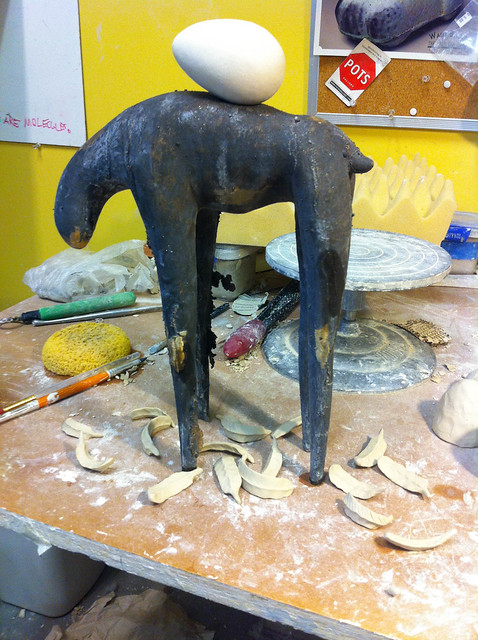
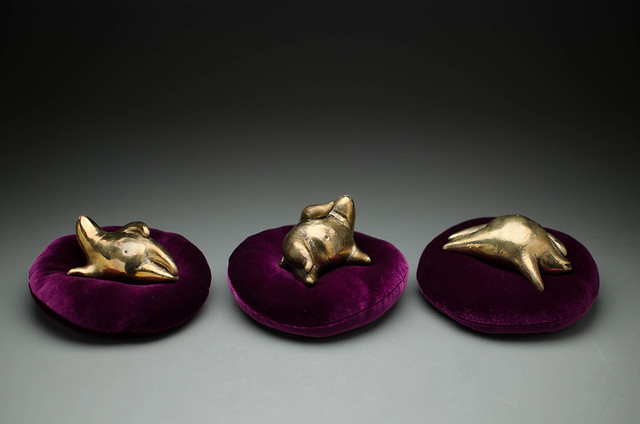
The real kicker is that even with all of that work, I’ve only really been getting started with these bronze beasts. It turns out that there is no end of possible patinas for these guys. The only ones I’ve declared finished are the first set of odalisques, which I polished to a high gloss and sealed with wax.
I’ve been working my way through The Colouring, Bronzing and Patination of Metals by Hughes and Rowe, and I have no end of experiments to try. The most amazing thing about patinas to me is that I can simply sandblast away any I’m unsatisfied with, and start anew. I’ll be casting a dozen tiny pieces this weekend, just so I have more beasts to experiment on, and I have shipment of chemicals headed my way as well. I’ll eventually put together a blog post on patination, but in the mean time you can follow my experiments on twitter.

Great post Eva (how about Thundergurgh?). I’m really enjoying reading about this new casting process of yours. One thing I thought about when you mentioned keeping bubbles off of the mold when you make the investment: concrete vibrator used in construction. We used one here when I poured the pilings for my kiln shed. Basically just a big long flexible vibrator that you can lower into the mixture or press onto the side of the mold. The bubbles practically jump out of the mix, and it’s quick. Completely eliminated bubbles in my plaster molds too.
The odalisques are looking good. Do you have any of your bronze work up for sale somewhere?
I’ll have to ask the instructors/ gurus about the concrete vibrator at the bronze pour tomorrow. I’m really curious what their answer will be. I had a few tiny bubbles on my piece from that casting, though the only bothersome ones were my fault. The wax odalisques all trapped a bit of air on their fronts due to their angle, and I had to later resculpt those parts in the bronze.
It’s also going to be interesting to see how many bubbles and flaws I get this time, compared to my first casting. This time, I made sure to spray the wax with hairspray, which should act the same as shellacking it.
The only bronze guys I have listed right now are the first odalisques, for sale as a set. Here’s a link to them! https://www.etsy.com/listing/116730071/bronze-odalisques-a-set-of-three-bronze
The others are coming along – I’m sewing pillows for a second set that’s sort of gunmetal colored. I ALMOST declared the tall guy done, but then sunlight unexpectedly turned his patina from pastel to black!
How long does it take to make a bronze statue?
Let’s say 145 cm high and 75 cm wide
Hi Eva! Thank you for posting, really interesting work also.
I was wondering, I recently tried to make a plaster mould/cast from some Broccoli. I wanted to make a porcelain mould of this, but as that didn’t work out sadly I was wondering if I could pour Bronze into it instead? The issue I may have is that I don’t have any vents, but as it is a small object perhaps that wont matter?
Thanks for your post, and for your help.
Kind regards
Sadie
Hi Sally,
You could probably pour wax into the mold, and then use the wax for lost wax casting of bronze. That’s what I would do!
Hi Eva,
Great Post! I am curious what the temperature of your investment is when you actually pour the bronze? Have they just been removed from the burnout kiln, and if so around what temperature are the molds at the time of pouring? Thanks!