A while ago, my husband and I teamed up to collaborate on some sculptures. He’s a software developer by occupation, and we both appreciate the interesting world where tech and art overlap. We decided to work together, and have slowly been developing a series of glowing sculptures. While it’s been a while since we finished the last one, we decided it would be fun to talk about some process, and share some of the programing and tech behind them.
Ever since I saw some translucent porcelain lamps made by Terry Inokuma, I’ve wanted to make a glowing creature. The ultra white porcelain (Southern Ice) I use for teeth in my sculptures also has the property of being amazingly translucent, something I don’t normally pay attention to in a clay. However, a couple years ago I decided to see what I could do with it. The first creature I made to explore the idea of glowing creatures was Glowbelly, a little round fat beast, whose belly reminds me of a pale frog. I used a mix of southern ice and my typical clay to make its belly, making it both paler and theoretically translucent. However, we’ve never been able to find out for sure. As soon as got the beast out of the kiln, it became clear that there were some aspects of electronic beasts that I’d neglected to take into consideration. Namely, the ability to put wires into the beast, the ability to block excess light and direct the LEDS, and the all important on and off switch. While I had a loose idea of just sliding all the electronics in through the mouth, it became clear that much more planning would be required for glowing creatures.
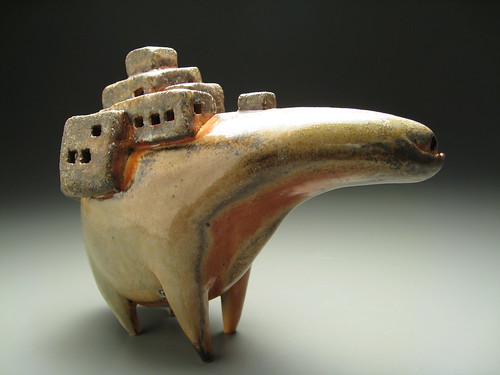
The next step on our experimentation was the Industrial City Beast. By planning ahead, we were able to set up easy access to power switches and wiring. The wiring of the beast was very simple, just a battery, a few LEDs and a resistor or two. (We started playing with the more complex wiring and microcontrollers later). However, we discovered how important the quality of the light was. The beast was to have glowing red eyes, but with the LED just in there, it was as empathetic as a laser pointer. We experimented with a number of materials as diffusers, to give the beast a warmer glow. In the end, we discovered shapelock plastic. This semitranslucent plastic can be heated in boiling water and will become malleable, but hardens on cooling. The stuff is great! It’s designed for rapid prototyping, and it can be reused indefinitely and machine tooled as well as hand formed. It solved two problems at once by both securing and diffusing the red LEDs in the neck of the beast. The white LEDs for the city were reflected internally by covering all internal surfaces with tinfoil, which helped make the light less directional.
However, the present pinnacle of our collaboration together is the Glowback. We finished it up last year, but got distracted before writing about the process of making it. However, the process is still fascinating, and the result is one of our favorite pieces.
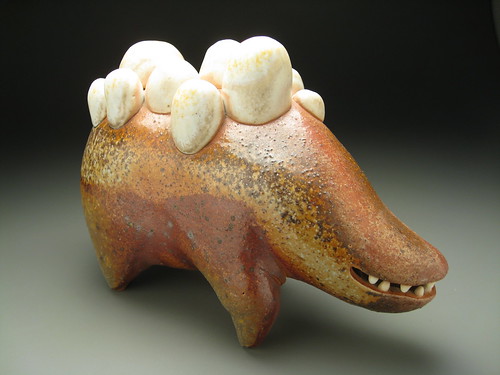
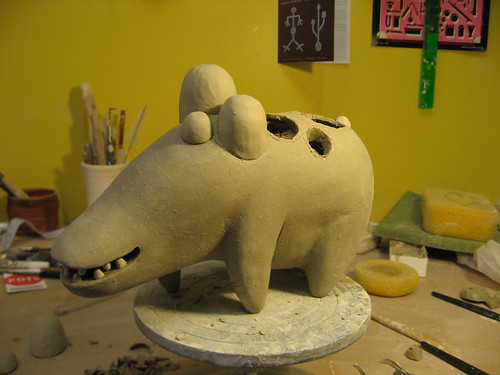
Like many of my woodfire pieces, the beast is a mix of different clays. I used a mix of porcelain and stoneware for its body, southern ice porcelain for its teeth, and a mix of southern ice porcelain and B-mix porcelainious stoneware for the pods on the back. This was so the body with have some grit and texture, the teeth would be white, and the pods would be pale and translucent from the southern ice, but still have some color and crystallization due to the B-mix. Since the beast isn’t very large, about 6″ long, the difference in shrink rates between the clays didn’t cause too many problems. (Porcelain shrinks about 14% from start to finish, while stoneware will only shrink 10%. If there’s long connected seams, the difference in shrink rate can cause the piece to crack.)
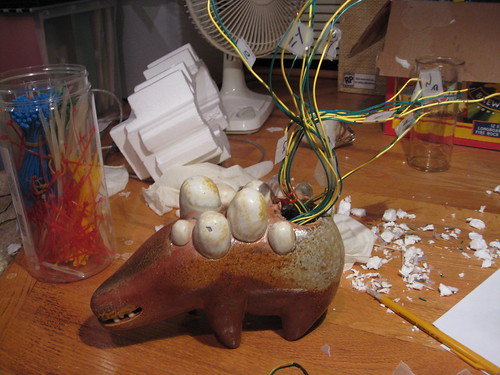
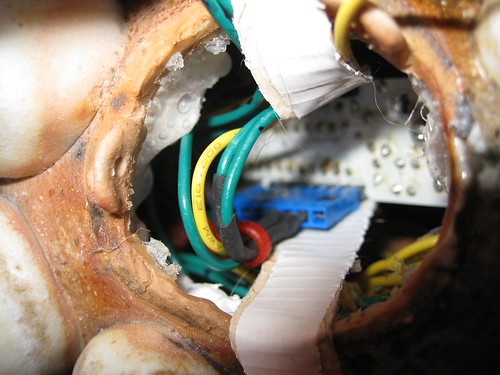
Each bulb on the back of the beast contains a super bright LED mounted in a styrofoam plug, which in turn is secured within the beast. Two of the bulbs were removable, which while seeming adequate during construction, turned the wiring process into a laparoscopic surgery. However after much swearing and and many minor burns from hot glue, all the LEDs were in place.
There’s 11 LEDs in all, and they’re controlled by an arduino microcontroller. (I can’t recommend arduino enough if you’re thinking about getting into this sort of thing.) We programed them to fade in and out in a vaguely hypnotizing pattern. Since the arduino only has enough pins to control 6 things independently, the five largest bulbs pulse independently on random timers, while the six small bulbs pulse all at once. Figuring out the correct rate of fade involved some very interesting math. Here’s some videos of the different patterns we tried. My husband Ben’s blog post goes into greater depth about the programing and wiring.
Eventually, once all LEDs were in place, the arduino (we used a smaller arduino clone called a boarduino), was wrestled into place inside of the beast. This ended up being the most difficult part of the process – I’d underestimated the amount of working room needed, and the amount of room the wires would take up. In fact, lack of internal space, and the access to it was in generally the most challenging aspect of the sculpture. Even the thickness of the wires factored into the difficulty – they keep popping off the dome that covers the power switch!
However, the end result is pretty awesome. We had a huge amount of fun constructing it, and I believe it’s lived up to our expectations. Since it’s a fairly experimental beast, it isn’t for sale. Here’s a final documentary video showing off the final completed beast.


[…] Eva’s has written up a post on the Glowback from her perspective on her own blog – I suggest checking it out to get more detail on the concept and lineage of the piece. […]